Installing Your Springer Series Cistern Pump: A Comprehensive Guide
How To Install Your Springer Series Cistern Pump
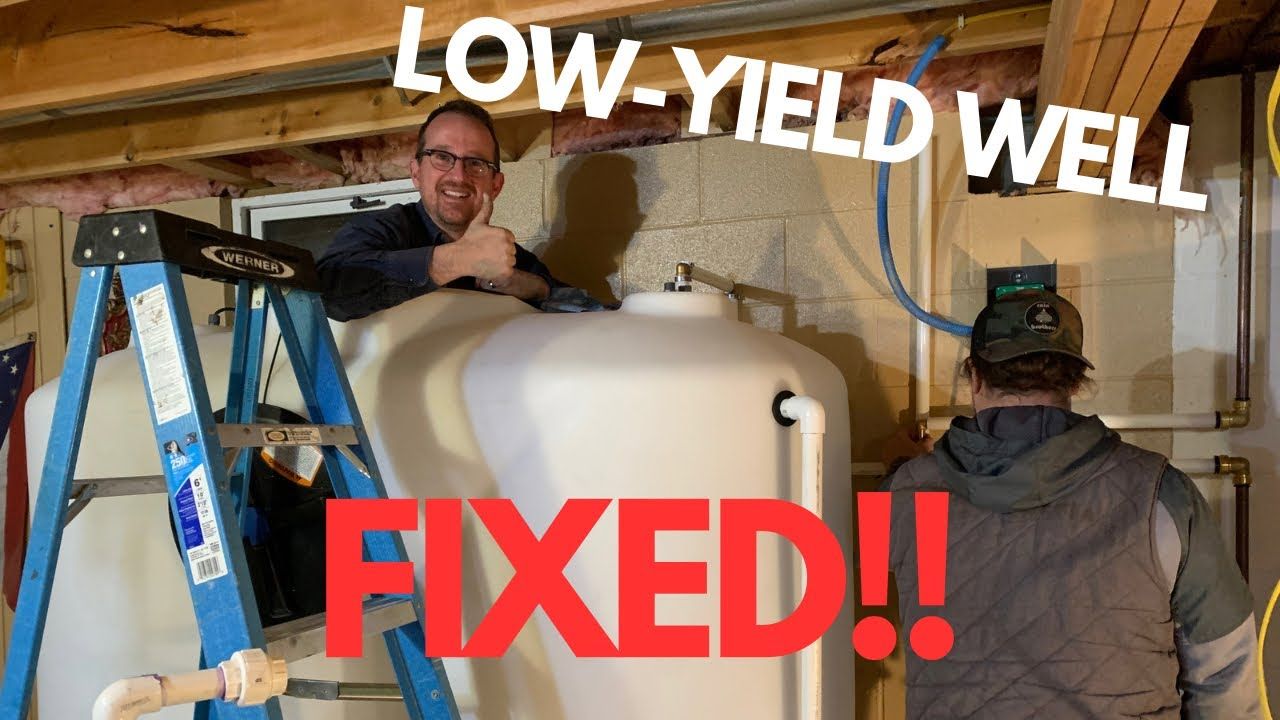
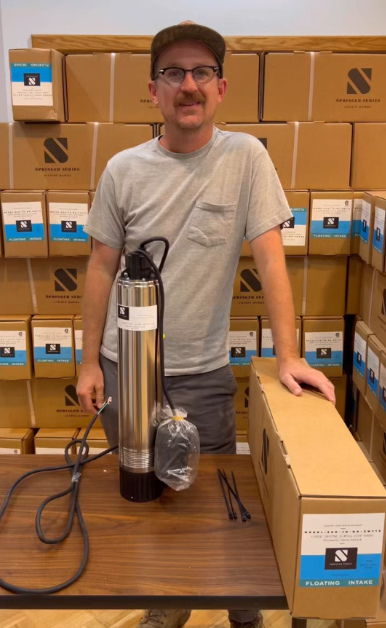
Installing a cistern pump can seem daunting, especially if you're not familiar with the ins and outs of pump mechanics. Luckily, Jonathan from Rain Brothers is here to guide you through the process of installing your new Springer Series traditional cistern pump. Follow these quick tips to ensure a smooth setup and efficient operation.
Unboxing and Inspecting Your Pump
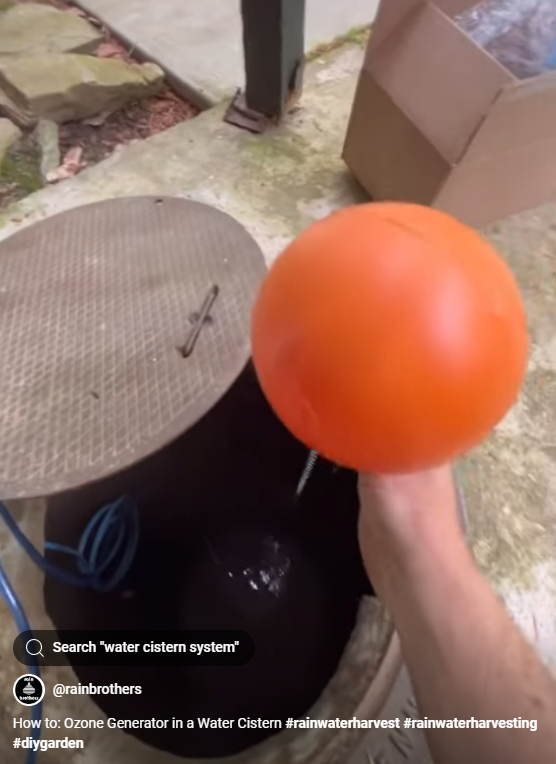
The first step in setting up your traditional cistern pump is to unbox it and make a quick inspection. One key feature to notice is the float switch, which comes already wired into the pump motor. This switch is crucial because it regulates the pump's operation by moving a metal ball inside to open or close the circuit.
Correct Positioning of the Float Switch
It's important not to leave the float switch dangling from the cord. The swing of the metal ball impacts when your pump turns on and off, causing irregular timing if left too loose. Jonathan recommends using either tape or zip ties to secure the float switch to the pump body. Aim to have about four to five inches of cord between the ball float and its tether point. This configuration tightens the movement range, leading to a more precise pump operation.
Understanding the Pump's Check Valve
When examining the pump, Jonathan highlights the discharge side that comes with a black cap. Inside, there's a plug-like piece known as a check valve. Contrary to what you might think, this valve should remain intact as it prevents water pressure from flowing back into the cistern. This built-in check valve eliminates the need for an additional external one, maintaining pressure in the discharge line as necessary.
Proper Threading and Voltage Check
Your pump also comes with specific threading measurements, namely inch and a quarter female pipe thread. However, perhaps the most crucial aspect before installation is double-checking the voltage specifications of your pump. The Springer Series offers both 115-volt and 230-volt models. Verify the voltage on the box and the pump to ensure that you have the correct model. For a 115-volt pump, the black wire is your hot wire, white is neutral, and green is ground. Conversely, with the 230-volt model, both black and white are hot, and green is ground, without a need for a neutral wire.
Troubleshooting Tips
If you find yourself facing issues upon startup, Jonathan points out a helpful troubleshooting video that covers all the necessary steps to identify and fix potential problems. With these steps, you can rest assured that your pump will be operational quickly. Rain Brothers have a strong track record with the reliability of these pumps, with minimal failures over years of sales.
By following these detailed instructions, you'll have your Springer Series cistern pump installed correctly and efficiently. They are known for durability and performance, ensuring that your water management system runs smoothly. If any issues arise, remember to consult the troubleshooting video to guide you back on track. Enjoy the lasting benefits of your new pump!
Troubleshooting Video
Springer Series 1/2HP TRADITIONAL Cistern Pump
https://www.rainbrothers.com/store/Springer-Series-1-2HP-TRADITIONAL-Cistern-Pump-p461750607

Links
Contact
937-949-1100
- Call or Text
catchingtherain@gmail.com
Cistern Living Community
Do you have a question about living with a cistern? We’re here to help! Join CisternLiving.com, sponsored by Rainbrothers, to connect with experts and a community of cistern owners. Your question could help others—sign up today and be part of the conversation!
Cistern Cleaning & Sealing Services
We provide professional cistern cleaning and sealing services within a 120-mile radius of Yellow Springs, Ohio, covering the following counties:
Butler, Champaign, Clark, Clermont, Clinton, Darke, Delaware, Fayette, Franklin, Greene, Highland, Madison, Miami, Montgomery, Pickaway, Preble, Ross, Shelby, Union, Warren.
Contact us today for reliable and professional cistern maintenance services!
Rainwater Harvesting Cisterns & Systems for Low-Yield, Low-Producing Wells
All Rights Reserved | Rain Brothers LLC

