All About First Flush Diverters
Downspout First Flush Water Diverters can improve water quality and reduce tank/cistern maintenance by preventing the first flush of water, which may contain roof contaminants, from entering the tank/cistern. They help ensure cleaner water is available for use, which protects rainwater pumps and internal household appliances such as clothes washing machines, toilets, hot water systems, etc.
There are two primary types of first flush systems: Underground and above ground. In this article, we will highlight the advantages and disadvantages of each type.
UNDERGROUND
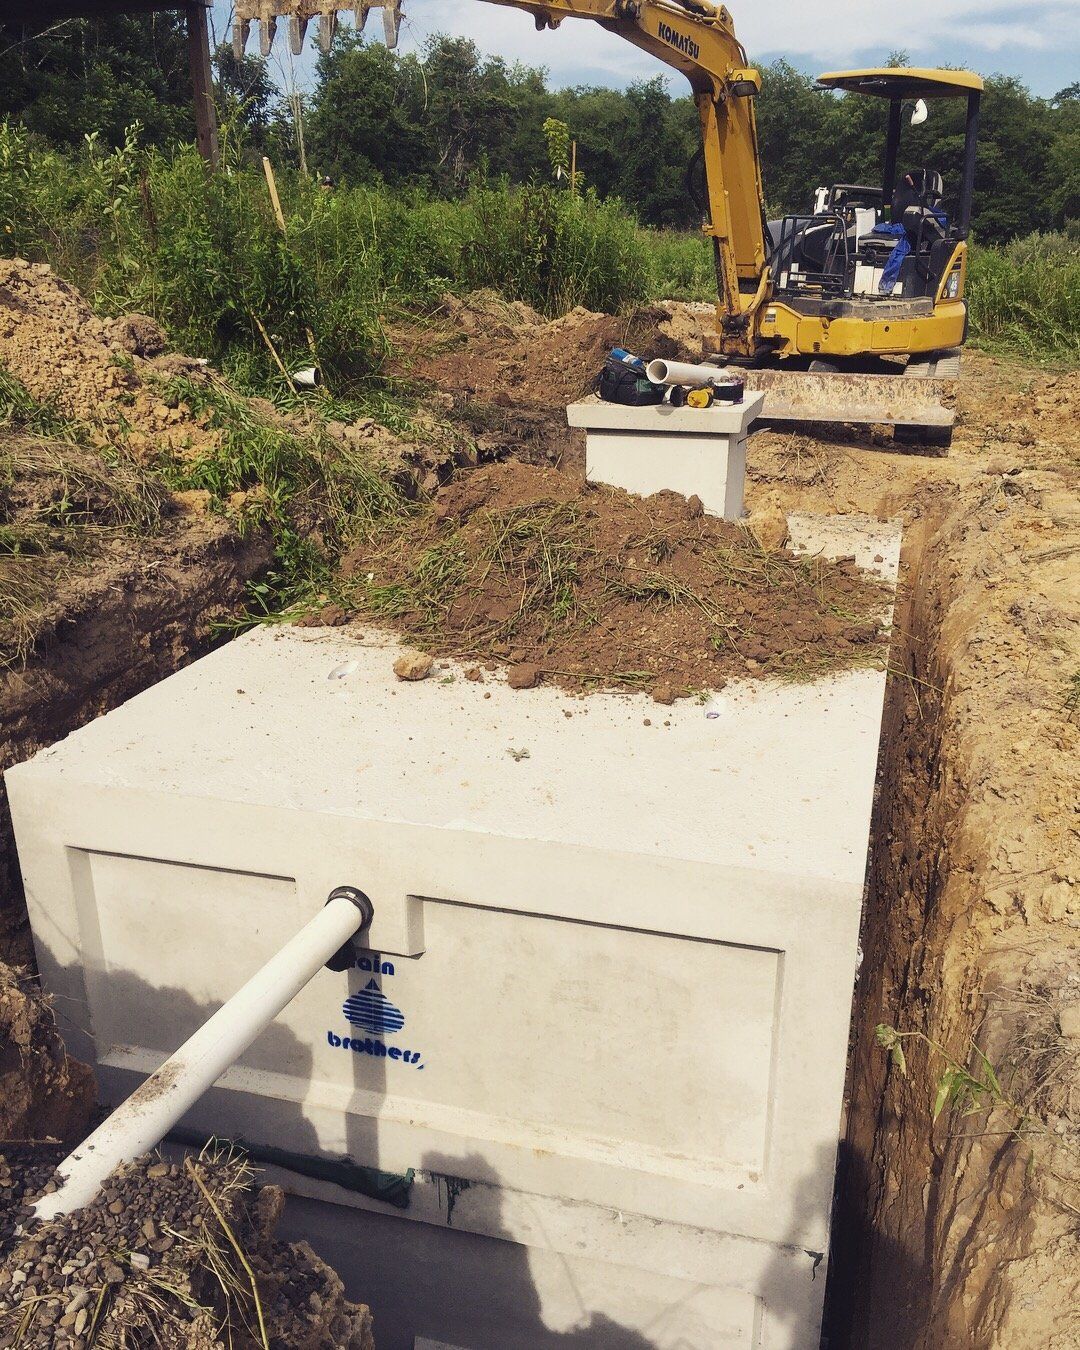
Here in the Ohio region, we almost exclusively install underground first flush filters. The reason for this is simple: underground systems are safer for winter time applications as they lower (or eliminate) the risk of freezing. Before 2010, the most common way for us (and other contractors) to incorporate first flush diversion was by using a "roofwasher" filter made by Water Filtration Company. This filter box had a sump in the bottom with a filter element midway up the box. Water from the downspouts would enter the roofwasher box, fill the sump, and then remaining water would travel through the filter element and into the cistern; the sump, then, acted as a means of removing the first bit of water from the system. While this was great in theory, in practice it did not work out so well as the sump drain frequently would clog and, instead of "flushing" the water that was supposed to be remediated, what happened instead was that the water would sit stagnant in the roofwasher box until the next rain event. Instead of filtering the water, the flush box wound up often times contaminating the system even more as the sump water mixed with incoming water from fresh rains.
This brings us to our first rule of thumb for any good first flush system: The system must drain between rain events.
In the past decade, a new first flush roofwasher has come on the scene: The Wisy Vortex pre-cistern filter. Unlike traditional first flush filters, the Wisy does not contain a standpipe or a sump in which water sits. Instead, it works off of water's cohesion property as well as incoming velocity from water traveling through downspout drains to send initial water straight through to a "trash outlet" and away from the tank. As the rain event continues, water velocity in the downspout drains picks up, and water then starts to spin around a vertical, stainless steel filter element, and then into the cistern. A true feat of German engineering, the Wisy filter has become our go-to filter for every new cistern installation we do. (Update: Wisy has also come out with an in-tank filter -- called the Wisy Linear -- that serves the same function as the Vortex filter but at a fraction of the cost).
Finally, Rain Harvesting (an Australian company) also makes an underground first flush diverter kit where water drains straight into a chamber and then backs up and routes to the cistern. While we do carry Rain Harvesting products (including their downspout first flush kits), we have chosen not to carry this unit as it is a deeply problematic design, especially in northern climates. Stay away from this product.
ABOVE GROUND
Occasionally, best design practices warrant installation of above-ground first flush diverters. While we rarely recommend above-ground first flush kits (especially in northern climates), we do incorporate them on above ground tank installations where the entire system will be winterized and drained. Also, if you are just harvesting from one downspout for your rain collection system, then the above-ground first flush kits can be a viable option. If you are harvesting from more than one downspout, however, installation and maintenance becomes tedious, and a filter like the Wisy Vortex or the Wisy Linear become a much better option.
Downspout First Flush Diverters, such as the 3″ and 4″ kits, are installed at each downspout that supplies water to the tank/cistern. They utilize a dependable ball and seat system – a simple automatic system that does not rely on mechanical parts or manual intervention. As the water level rises in the diverter chamber, the ball floats, and once the chamber is full, the ball rests on a seat inside the diverter chamber preventing any further water entering the diverter. The subsequent flow of water is then automatically directed along the pipe system to the tank/cistern.
Features and Benefits of First Flush Downspout Diverters
- Prevents sediment, bird droppings, spiders, insects, mosquito eggs and debris from entering the rainwater tank/cistern.
- Improves water quality, protects pumps and internal appliances.
- Easy installation, just add pipe and glue.
- No mechanical parts.
- Low maintenance requirements.
How do they work?
Fitting an appropriately sized First Flush Water Diverter is critical to achieve good quality water. Water Diverters improve water quality, reduce tank/cistern maintenance and protect pumps by preventing the first flush of water, which may contain contaminants from the roof, from entering the tank/cistern.
When it rains, water slowly builds up in the roof guttering system before it exits through the downspout. The first flush of water from the roof can contain amounts of bacteria from decomposed insects, skinks, bird and animal droppings and concentrated tannic acid. It may also contain sediments, water borne heavy metals and chemical residues, all of which are undesirable elements to have in a water storage system.
Instead of flowing to the water tank/cistern, these pollutants are diverted with the initial flow of water into the chamber of the water diverter. Our water diverters utilize a dependable ball and seat system – a simple automatic system that does not rely on mechanical parts or manual intervention.
As the water level rises in the diverter chamber, the ball floats, and once the chamber is full, the ball rests on a seat inside the diverter chamber preventing any further water entering the diverter. The subsequent flow of water is then automatically directed along the pipe system to the tank/cistern.
For a water diverter to work effectively, the contaminated water in the chamber must be sealed off. This prevents the water passing to the storage tank/cistern and ensure the water does not “syphon” off the contaminated water in the chamber. The simplest and surest way to do this is with a floating ball and seat.
A slow release valve ensures the chamber empties itself after rain and resets automatically. The diverted water need not be wasted water because the drain pipe from the diverter chamber can be fitted to a standard drip irrigation system.
How much water to divert?
It is important to prevent heavy sediments and other roof pollutants from entering the rainwater tank/cistern. The amount of water diverted should be a minimum of 12.5 gallons per 1000 square feet of roof area (or 0.0125 gallons per square foot). In calculating the amount of water to divert, consideration can be given to (1) the surface area of the roof, and (2) the amount of pollutants on the roof and gutters.
The following factors can be used as a guide in determining the volume of water to be diverted.
As a rule of thumb, the more water that is diverted the better the quality of water in the tank/cistern.
Installation Instructions
1. Determine the length of Diverter Chamber #4. Consider as a guide that each:
– 3 foot section of 3″ Schedule 40 PVC pipe holds approx. 1.5 gallons of water.
– 3 foot section of 4″ Schedule 40 PVC pipe holds approx. 2 gallons of water.
Fit the longest length of pipe possible, making sure the Screw Cap #10 is at least 6″ from the ground to allow for removal and cleaning.
2. Place the ball Seat #9 into the Tee Junction #6 ensuring the narrow end of the ball seat points down into the Diverter Chamber #4. Apply glue to the Diverter Chamber #4 and fit up against the Ball Seat #9
and hold until the glue sets. (Optional: Use a 45º bend adaptor to allow easier removal of the Screw Cap #10). Glue the Socket #14 to the bottom end of the Diverter Chamber #4.
3. Fix the assembled chamber directly to the wall in the desired position using the Wall Brackets.
4. Connect a Male & Female (M&F) Elbow #8b (if required) to the Chamber Outlet #8 and connect the downspout #3. Fit an elbow to the InFeed pipe #2 (if required) and connect to the bottom of the
selected rain head.
5. Select the appropriate Flow Control Valve #11 and insert into the Hose Connector #16, making sure the valve is inserted with the side marked “TOP” still showing. Start by using the Control Washer with
the smallest gauge hole (lowest number). Try a larger gauge Washer if experiencing blockages. Place the Filter Screen #13 into position from the outside of the Screw Cap #10 and then attach the Hose
Connector #16.
6. Place the Sealing Ball #5 into the Diverter Chamber #4 and attach the assembled Screw Cap #10 to the Socket #14.
Article courtesy of Rain Harvesting. Rain Harvesting is a company based in Australia that manufactures many of the products that we carry, including the first flush diverters referenced in the article.

Links
Contact
937-949-1100
- Call or Text
catchingtherain@gmail.com
Cistern Living Community
Do you have a question about living with a cistern? We’re here to help! Join CisternLiving.com, sponsored by Rainbrothers, to connect with experts and a community of cistern owners. Your question could help others—sign up today and be part of the conversation!
Cistern Cleaning & Sealing Services
We provide professional cistern cleaning and sealing services within a 120-mile radius of Yellow Springs, Ohio, covering the following counties:
Butler, Champaign, Clark, Clermont, Clinton, Darke, Delaware, Fayette, Franklin, Greene, Highland, Madison, Miami, Montgomery, Pickaway, Preble, Ross, Shelby, Union, Warren.
Contact us today for reliable and professional cistern maintenance services!
Rainwater Harvesting Cisterns & Systems for Low-Yield, Low-Producing Wells
All Rights Reserved | Rain Brothers LLC
