Cistern Cleaning: How To and How Often
Cistern cleaning and maintenance
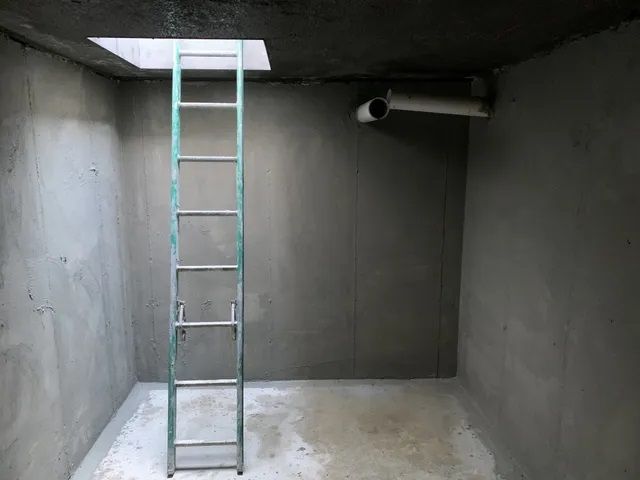
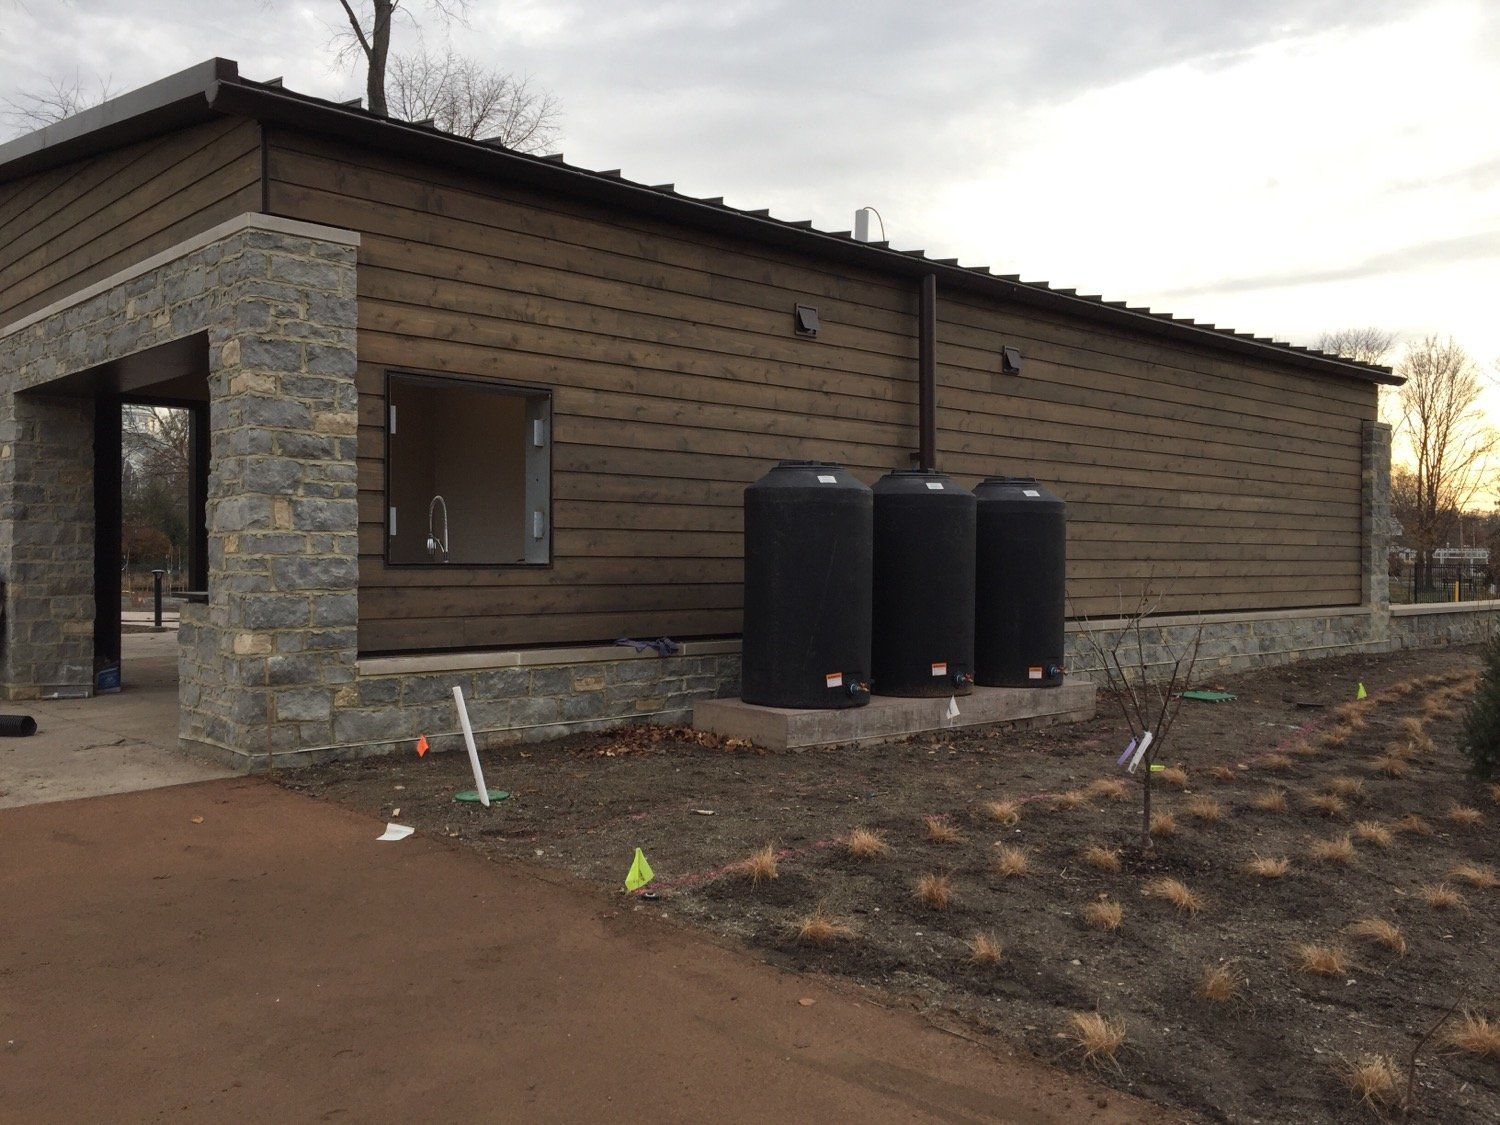
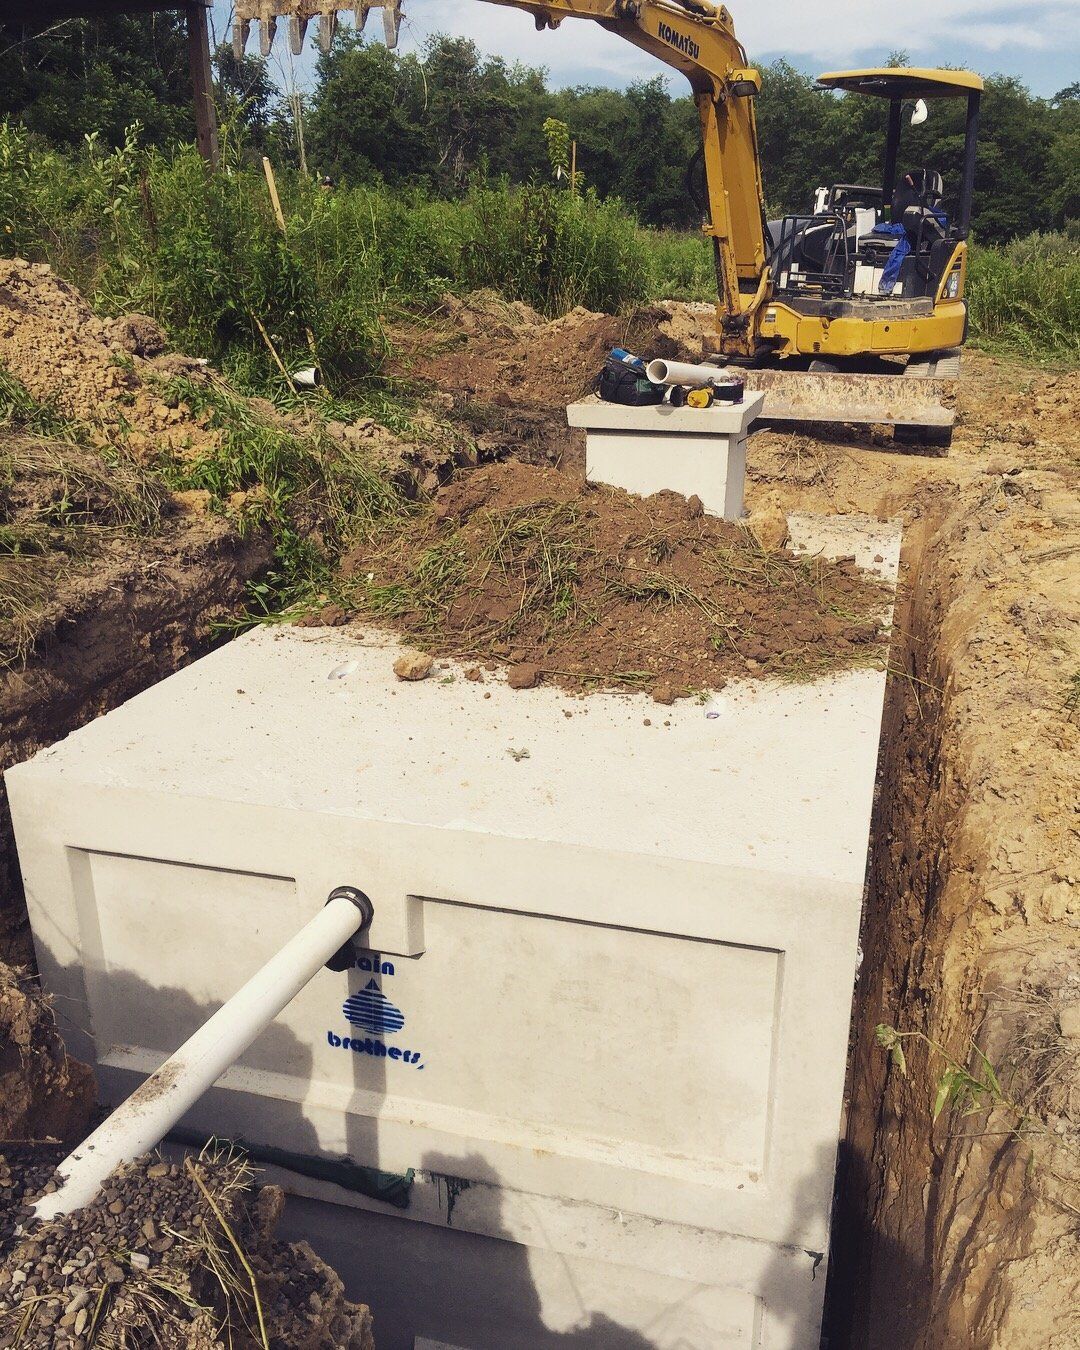
Whether you are collecting rainwater for your household water supply, or you are having water trucked in to fill your water tank, regular maintenance of your cistern tank is vital to your home's overall water quality. Below are recommendations we give our customers based on our years of field experience.
How often should I clean my cistern/water tank?
Before beginning to maintain your system, we need to ask, does it need to be cleaned/maintained? Our general rule of thumb is that a rain-fed, below-ground cistern should be cleaned once every 10 years. However, the frequency depends on the quality of the installation. If good quality roof washers were used -- like our Wisy Vortex filter or our Monjolin filters -- and if the cistern is well-sealed so that there is no potential for dirt/mud to seep in or rodents to get in, then you're looking at closer to 20 years between cleanings of your water tank. However, if the installation was not done well, and you have a source of mud/dirt getting in, or you have rodent activity inside your tank, then the cistern needs to be cleaned right away and the tank needs to be evaluated and properly sealed.
Also, if you are losing water and you suspect that your cistern is leaking, that is a great time to clean the tank and evaluate, as well as re-seal the cistern. For instructions on how to waterproof your water tank, check out our how-to video here: https://youtu.be/-oYkelS7t-M?si=O13FjduEmcfGWPkU
The important thing to keep in mind is that pre-filtration/roof washers are absolutely crucial for maintaining great water quality inside your tank. It is a lot easier to pre-filter the water and maintain those pre-filters than it is to clean the cistern. So if you don't have good pre-filtration, at least put in something basic to keep shingle grit/leaves/etc. out of your tank. We have many affordable pre-filtering options. To get your cistern system to where it needs to be, install the pre-filters, clean the cistern, and then return to the 10-year cleaning schedule.
What other steps are needed for cistern maintenance?
In addition to cleaning your water tank/cistern every 10 years, it is important to regularly disinfect the cistern. This can be accomplished one of two ways. Either:
1) Add a small amount of slow-dissolve, NSF-approved chlorine tablets to your cistern. We recommend adding a small handful (enough to cover your palm) every 3 months directly to your cistern. Please remember to wear gloves when handling chlorine pellets; or
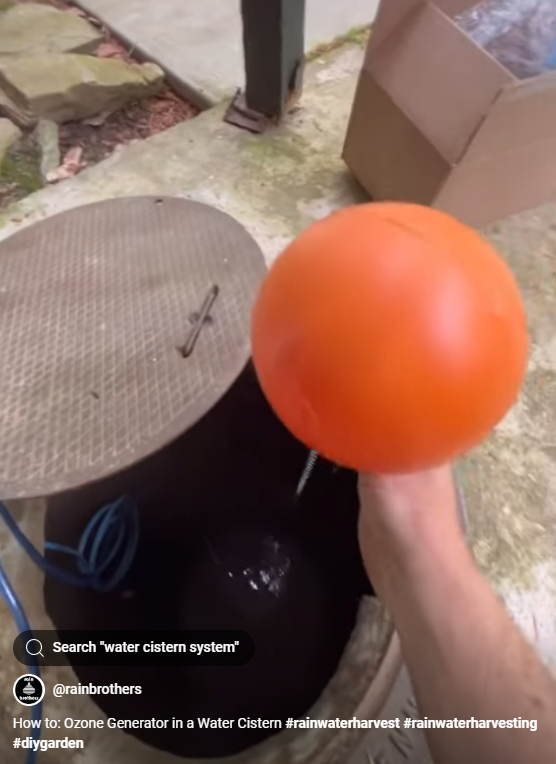
2) Regularly use an ozone generator to pump O3 (aka Ozone) into your cistern. Ozone generators are extremely useful in creating excellent cistern water quality. Ozone, when injected into a water tank, will create an environment where bacteria cannot survive. Additionally, ozone helps clarify the water and clear up an odors. And for a maintenance dose on a cistern, an ozone generator only has to run 2-4 hours per week (assuming you have proper continuous disinfection filtration inside the home). Plus, ozone will naturally dissipate, so there is no harmful additive to your water supply! The only downside of ozone treatment is that it cannot be used for tanks that are in enclosed spaces, as ozone is harmful in large amounts when concentrated in indoor air. So installing an ozone generator must happen with outside tanks only. Additionally, ozone generators can only pump into 4' of water, so you have to suspend the airstone to ensure that the ozone generator is not pumping into more than 4' at any given time. We created this how-to video here to explain this process: https://youtu.be/3jeFbFvDwBo?si=lNDIP2ta13dAPFDg
How to clean your cistern/water tank
Once you've finally determined that your cistern needs to be cleaned, now it's time to get dirty! To clean a cistern, the following supplies are needed:
*A minimum of 2 people
*Flat, clean shovel
*Ladder
*Air exchange/ventilation fan
*Respirator with activated carbon filter
*Earplugs
*Gloves
*Protective eye wear
*Headlamp
*Large-capacity pump
*Small transfer/utility pump
*Buckets
*Rope with hook
*Wet/dry vacuum
*Pressure washer
*Unscented bleach
*Barrel
First, turn off power supply to your pump, and close the main valve in your house. This will ensure you do not lose prime in your pump as you drain down your tank.
Second, pump water from top of cistern into barrel. It's best to place barrel close to cistern, and a minimum of 50 gallons of storage is recommended. As water is filling barrel, pour in one quart of unscented bleach. This barrel will supply water to your pressure washer.
Third, begin pumping out the cistern. When possible, stir up the water inside the cistern to allow the pump to discharge some of the sedimentation.
Once the large-capacity pump can no longer pump anymore water, begin circulating fresh air into the cistern with the ventilation fan, and suit up with your respirator, gloves, safety glasses, and earplugs.
When safe to do so, enter the cistern and begin pressure washing the walls. We gravity-feed the barrel to the pressure washer. Be careful not to use too strong of a jet because sealant on concrete tanks can break off -- we don't want that to happen!
Use utility pump to evacuate as much of the remaining water as possible.
Shovel up any debris into buckets, and have your helper hoist them up.
Finish by using wet-vac to clean up remaining sludge/build up.
If this sounds too daunting and you're within 2 hours of our shop in Yellow Springs, Ohio, call us our text us at (937) 949-1100, or fill out a service request form, and we'd be happy to provide a quote to clean your cistern for you!
