How to Filter Rainwater for Drinking
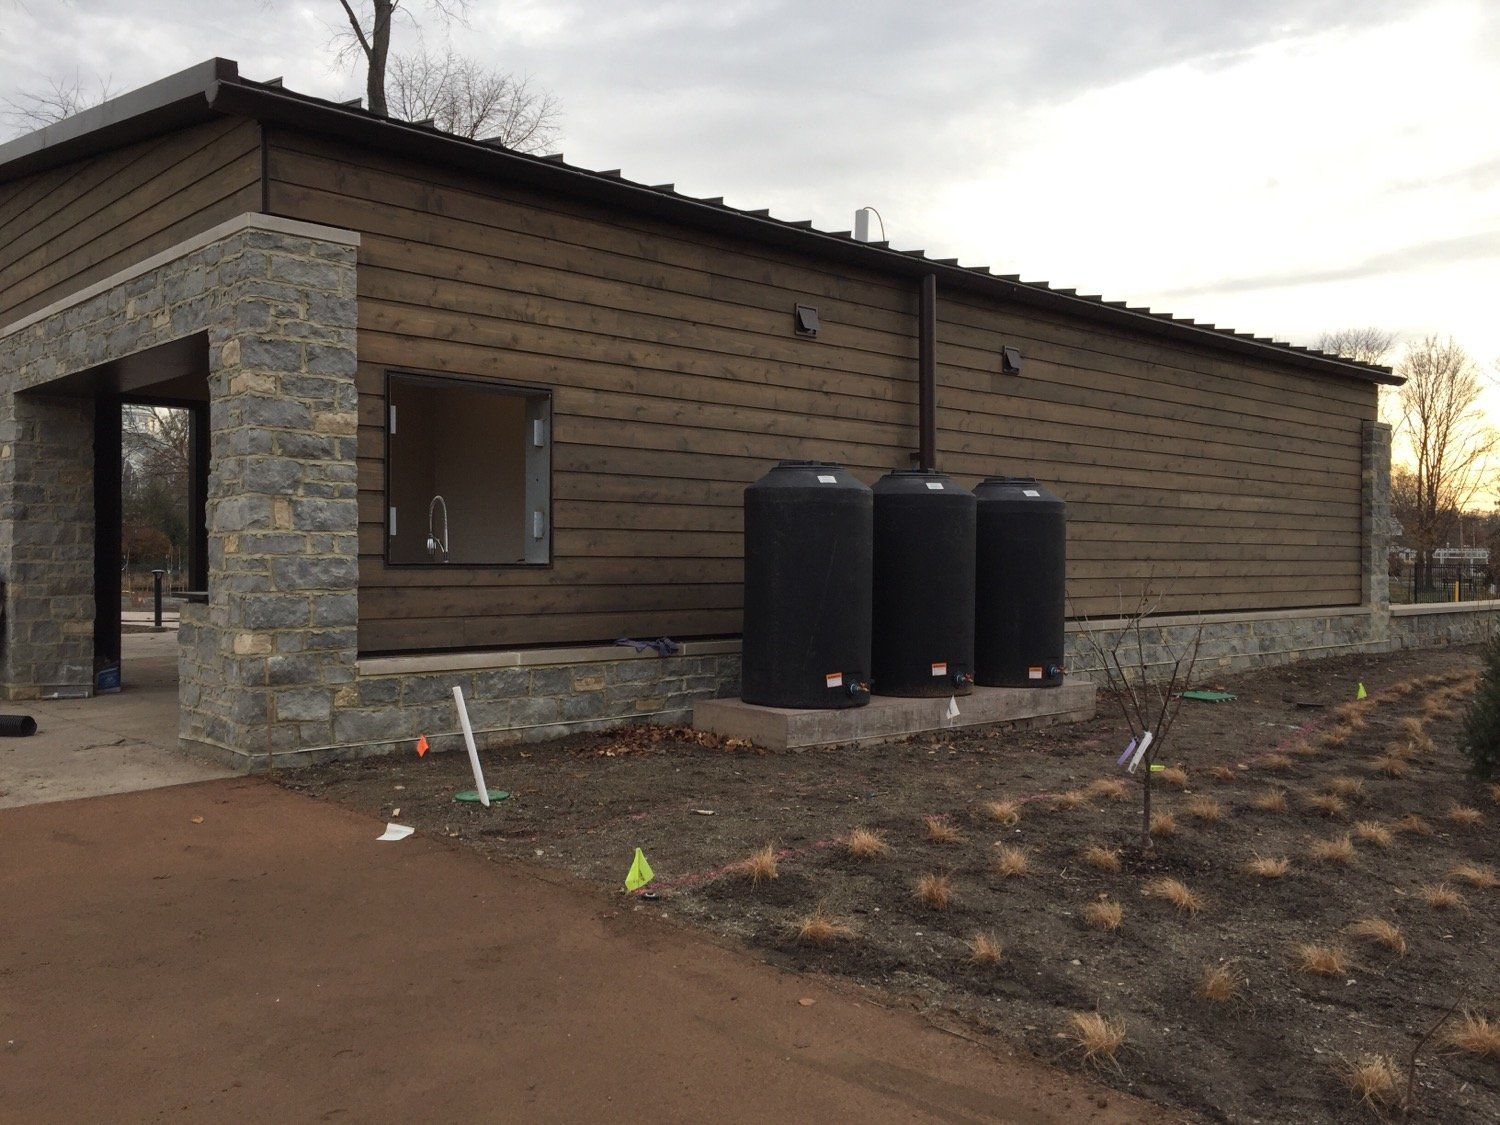
Believe it or not, rainwater can be filtered into the best-tasting, freshest water you’ve ever had. In our home state of Ohio, there are literally thousands of homes that rely on rainwater for their sole water supply, and thousands more homes that utilize rainwater for the majority of their watering needs.
But care must be taken. While rainwater is filtered naturally through solar distillation, some not-so-fresh things happen to the rain on the way back down -- especially once the rain hits our roofs and collects all the organic material (animal feces and all) that collects there. To return the rain to a potable state once again, there are some time-tested, effective methods we can use for filtration: There’s the short-term fix (great for emergency water situations) and the long-term rainwater filtration method (great for utilizing rainwater for your water needs). Here’s an overview of both:
THE SMALL-SCALE, SHORT-TERM, SIMPLE METHOD
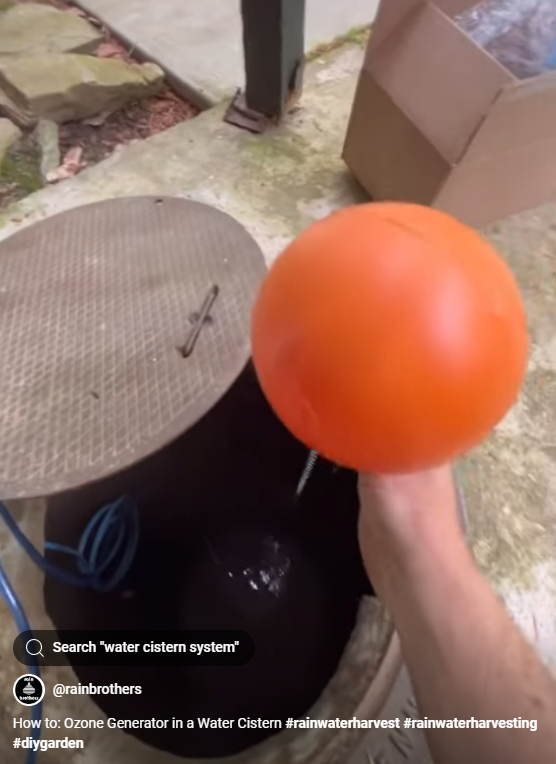
If you live in a rural area and rely on a well (and, more importantly, on electricity to provide power to your well pump), or if you are on a municipal water supply and want to have a back-up water source for emergency preparedness, you may want to consider having a short-term filtration solution on hand. In this case, we recommend using an ozone generator with your barrel or tank. Ozone (or O3), when injected into a water supply, will kill any bacteria and algae in your storage vessel, making it ideal for quick and easy filtration. Ozone will not, however, remove harmful chemicals in the water supply, so extra filtration may be needed and a water test is always recommended. Soon after ozone is injected into the water, it will dissipate, leaving no net effect to the water supply. A word of caution though: Ozone should only be used outdoors, and the barrel or tank it serves should be in a well-vented area.
RAINWATER FILTRATION FOR HOUSEHOLD APPLICATIONS
If you want to utilize rainwater for your home and are looking to install larger-scale filtration, there are a few steps to follow to ensure a fresh, clean, efficient system. (CAUTION: It is tempting to cut out one or two of these steps, but, in so doing, you’ll put more burden on the other steps and will create more work for yourself down the road. After working on rainwater systems of all types for a decade, we’ve learned that lesson the hard way.)
- Pre-tank filtration: First, you will want to consider a tank pre-filter into your system. While there are many on the market (and several in our store), a lot of the options available are designed for commercial and industrial applications and are not always cost-effective (or even efficient) for residential-scale systems. While we used to use roofwasher filters made by Water Filtration Company, we now exclusively use Wisy Vortex pre-filters in all of our drinking water system installations -- a filter which incorporate first flush diversion and utilize vertical filtration to ensure that your incoming water will not be contaminated by running through or over sitting debris. The Wisy filters will ensure that you'll rarely have to clean out your cistern -- they're that thorough. However, if you are looking to cut costs, you'll at least want to consider utilizing one of our aluminum downspout debris filters to keep large debris from collecting inside your tank.
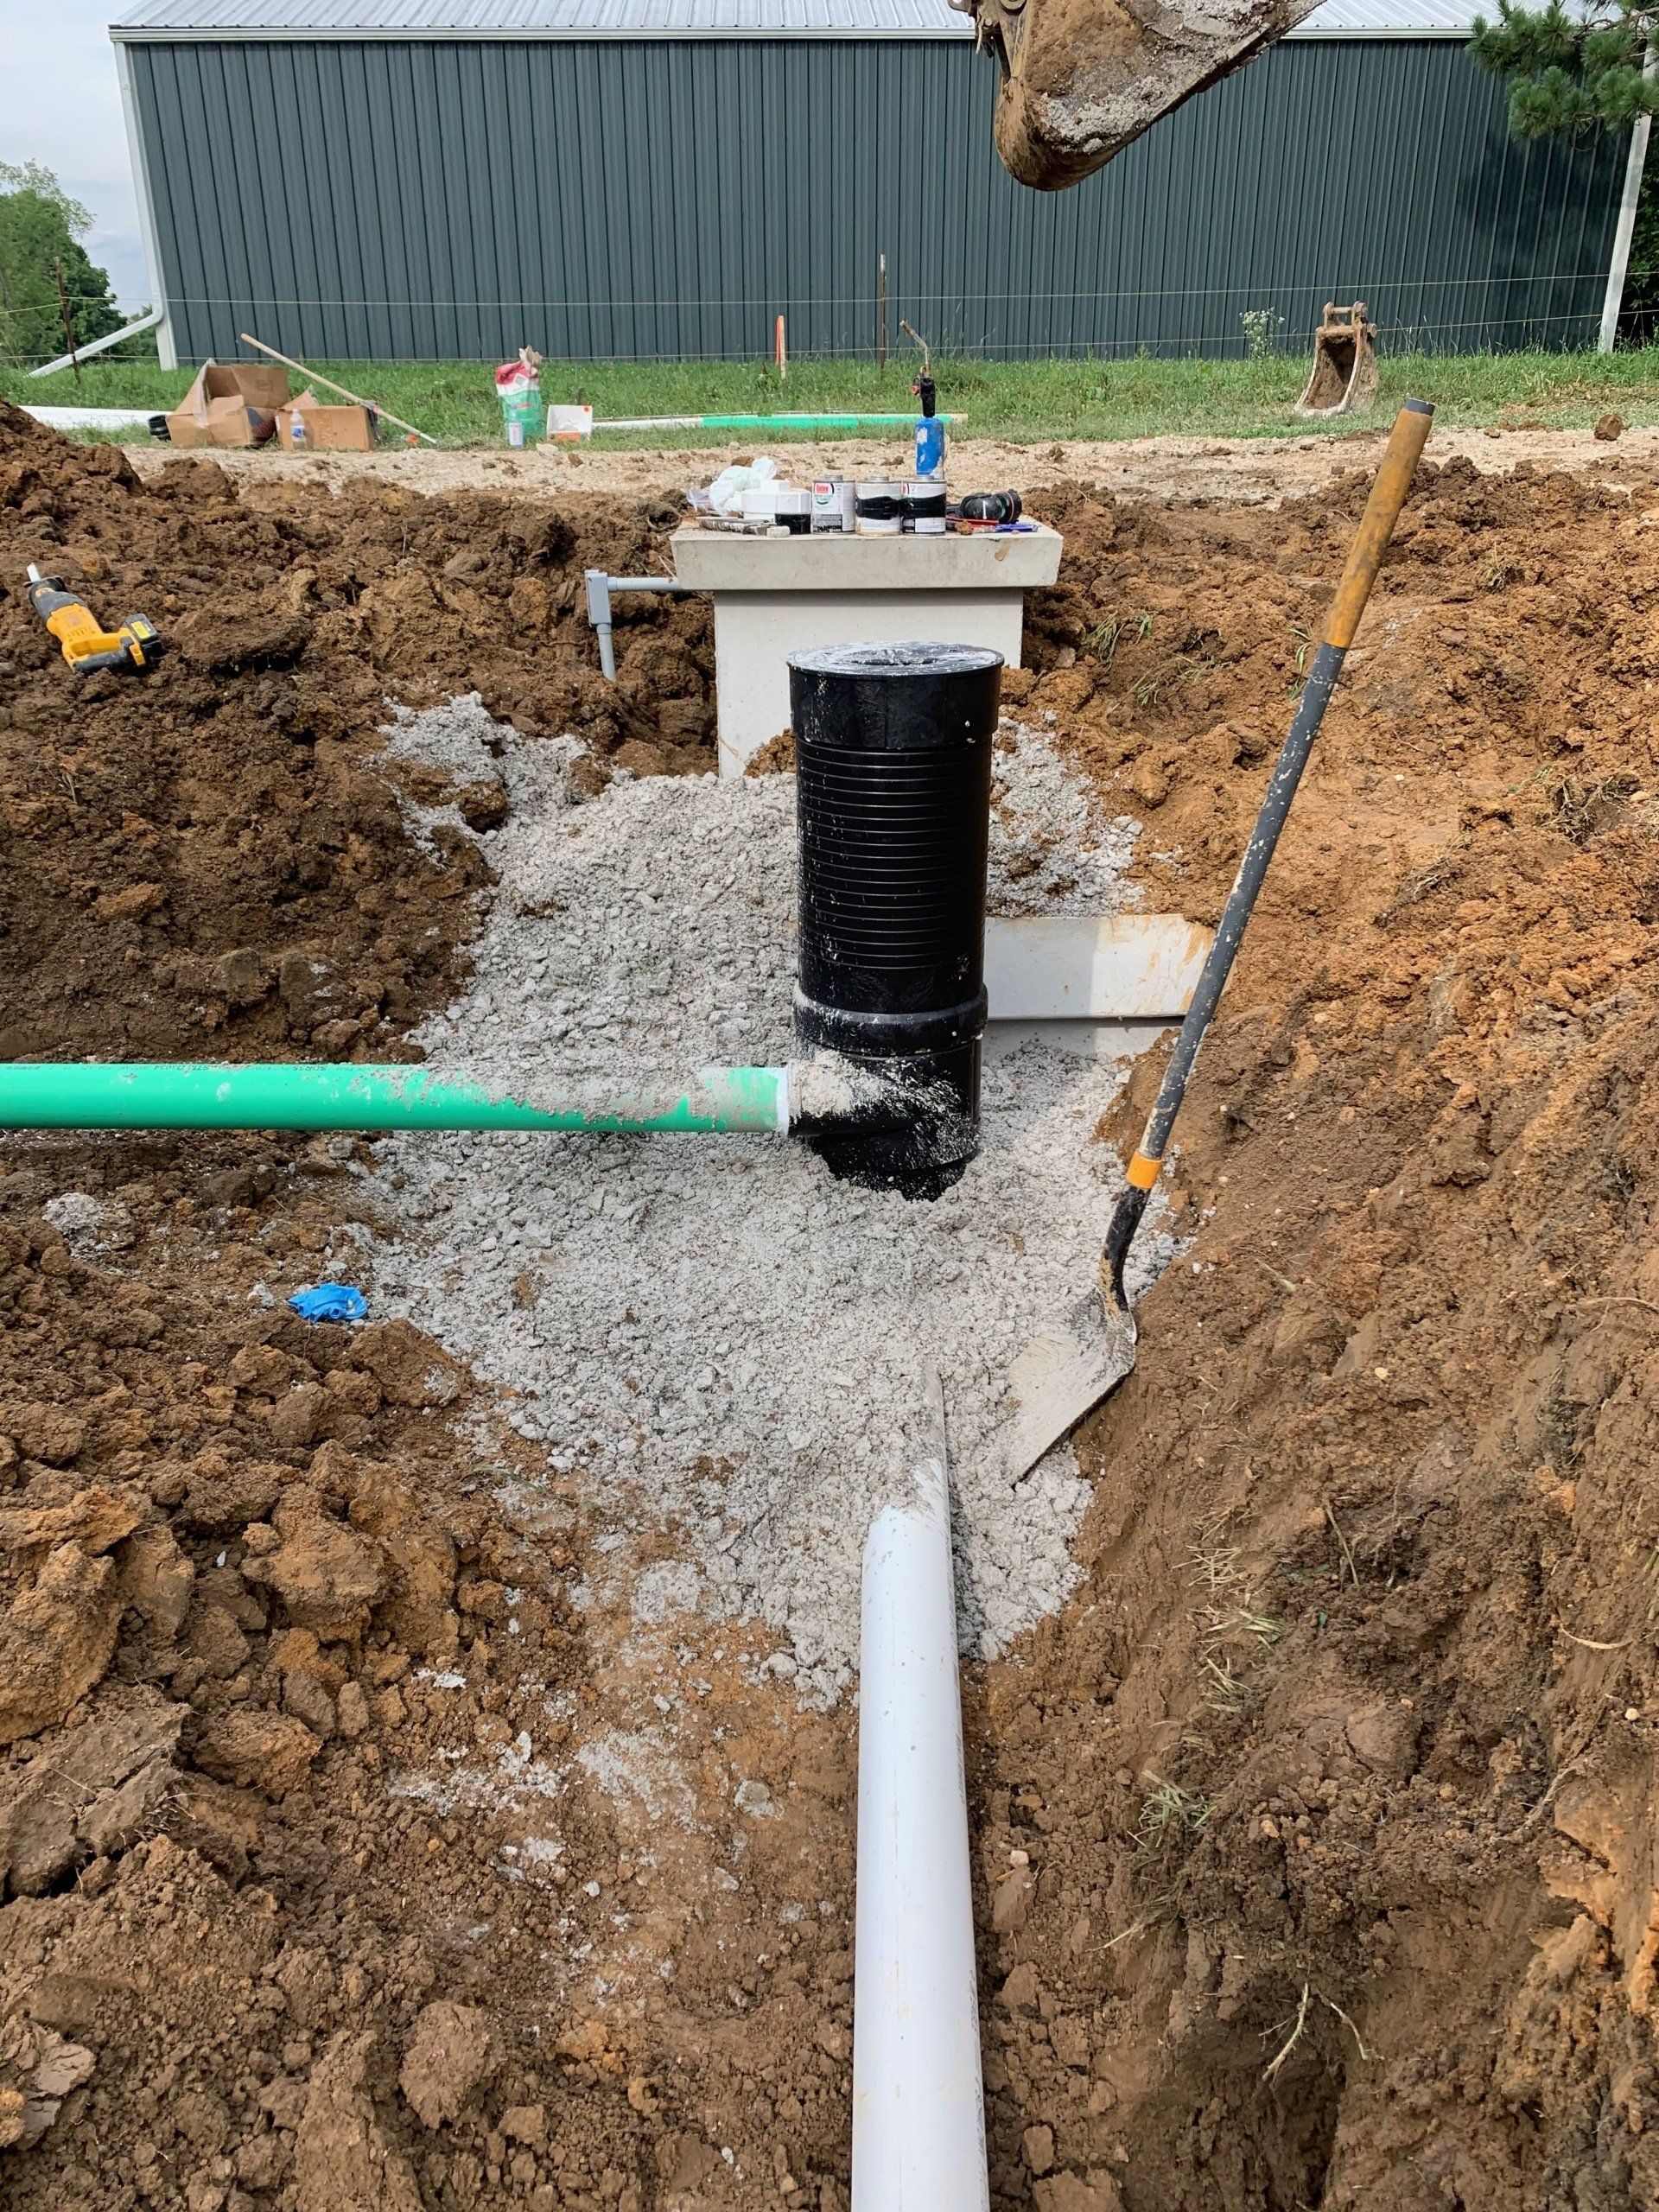
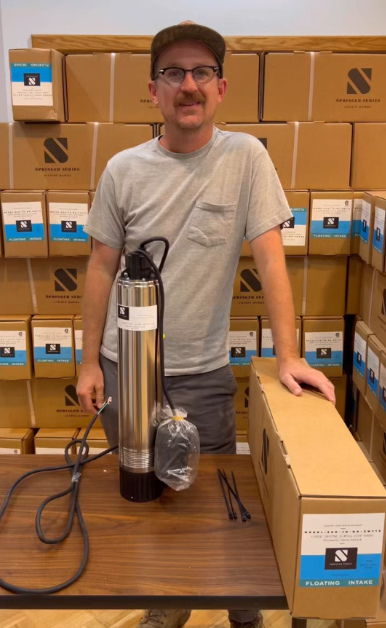
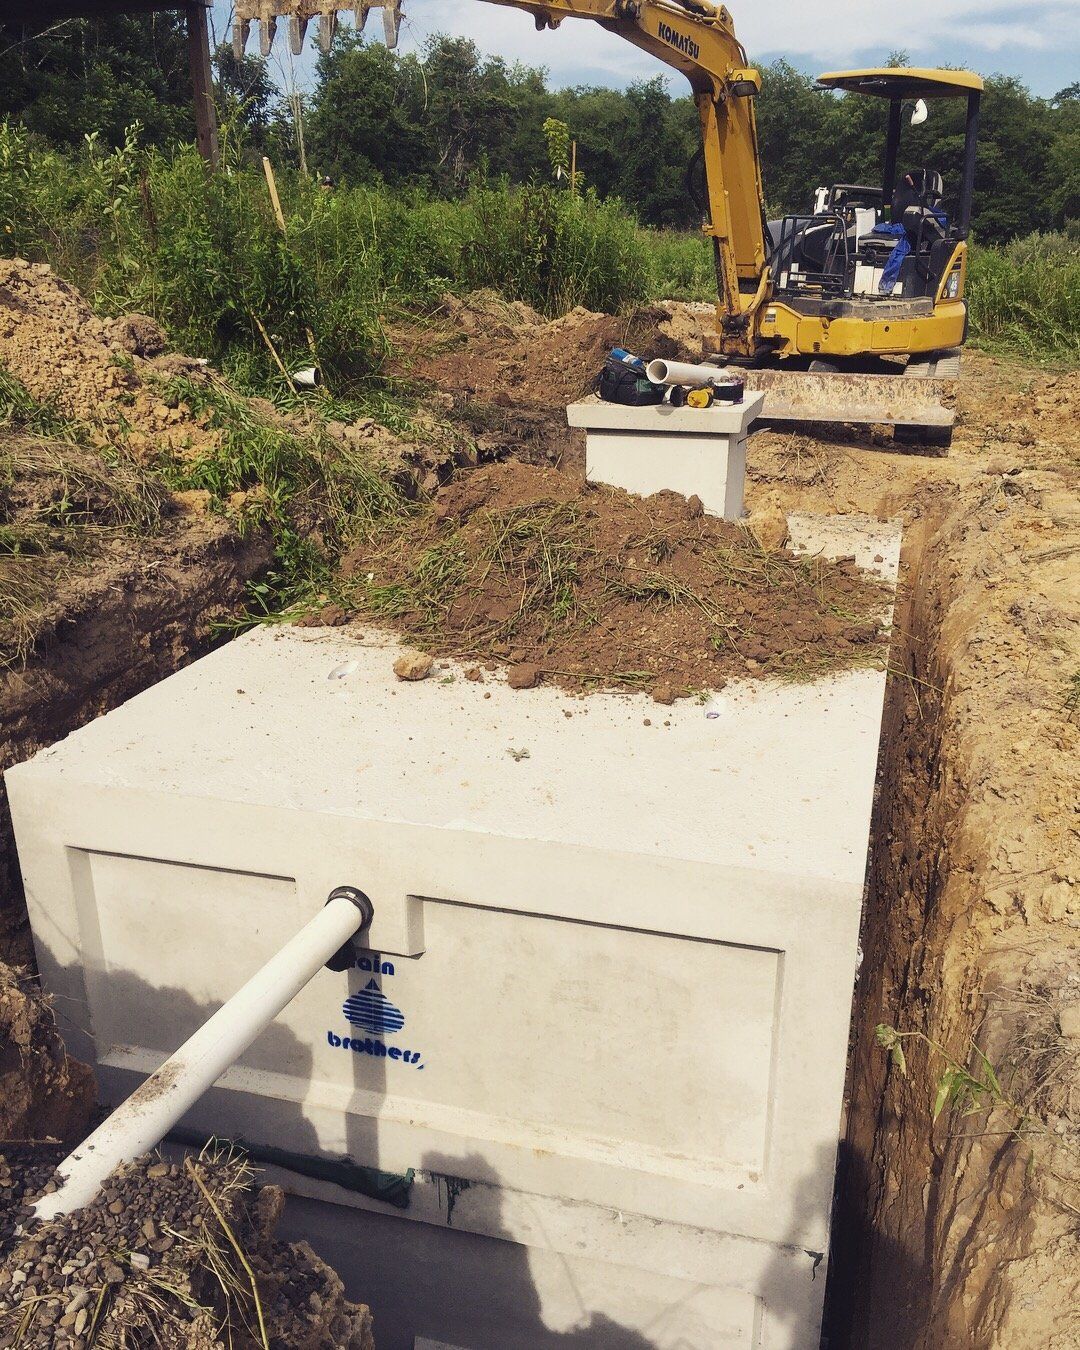
- In-tank filtration: In-tank filtration is simple to do and can have a big impact on overall water quality. First rule of thumb is to build in a "force breaker" (also called a "calming inlet") into your tank by plumbing your tank inlets so that they turn 90 degrees and run all the way down inside your tank and stop just above the tank floor. Consider putting concrete blocks around the inlet pipe at the bottom of the tank, or install two 90-degree elbow fittings (to bend 180 degrees) on the pipe. Doing so act as a “force breaker” and will reduce turbidity in the water, thereby maintaining sediment zones in the tank (whereas if the incoming water from the downspout drains just pours straight into the top of the tank, water will stir during every rain event and become murky). Sedimentation will be most heavily concentrated on the very bottom and on the very top of the water in a given cistern, so if we can reduce turbidity in the water and draw the water from the middle of the water level (using a floating intake filter or a submersible cistern pump), we’ll get the cleanest water from our system.
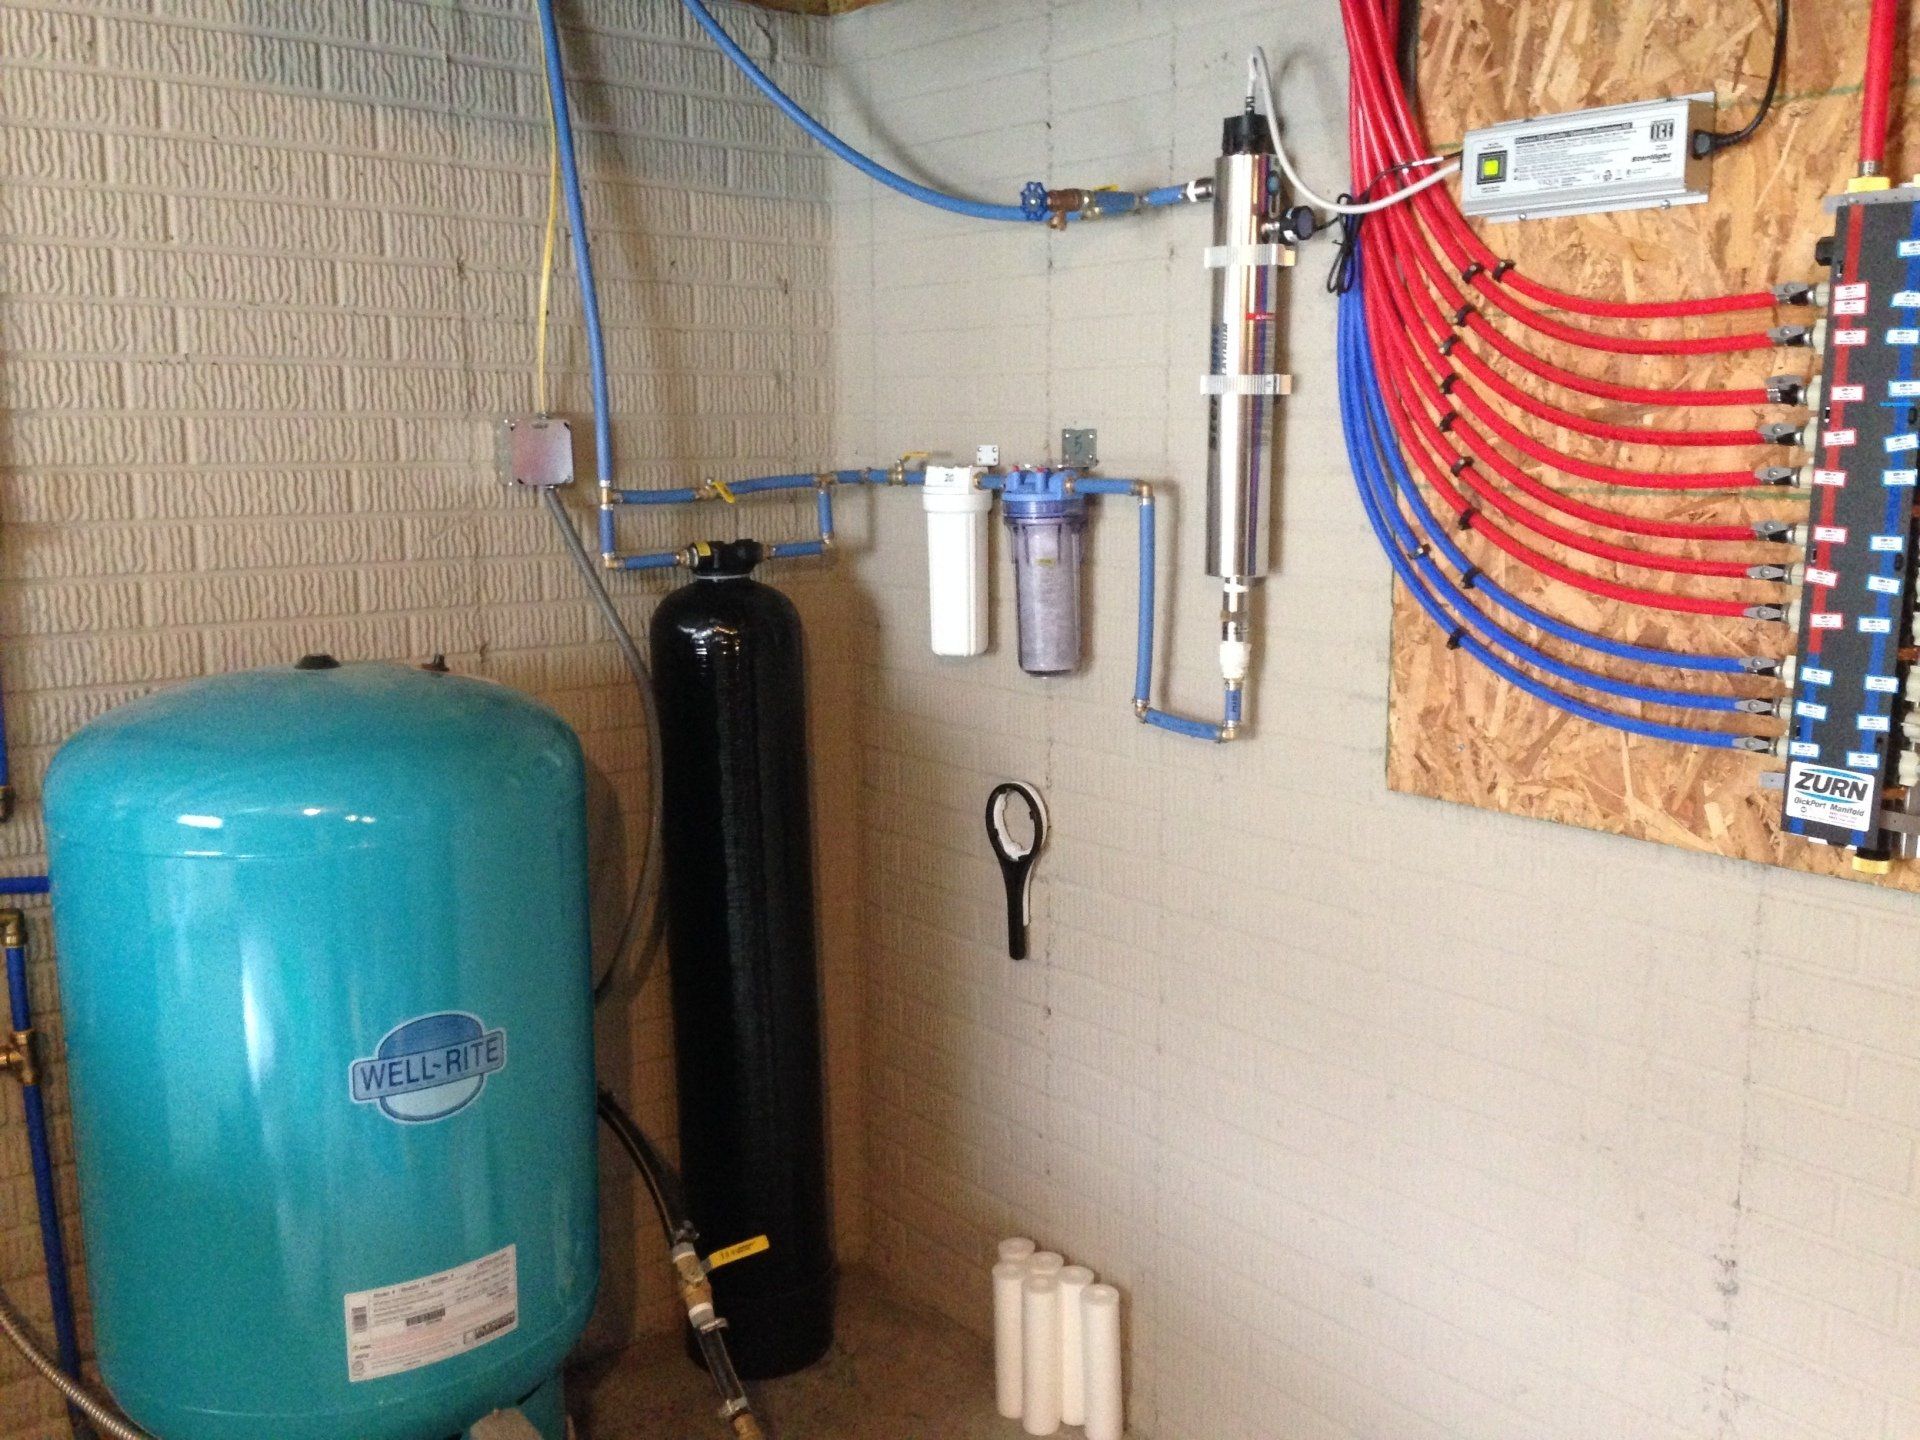
- Activated carbon: All water will carry with it its own taste and odor, and rainwater is no exception. To get the best water quality possible, as well as the best tasting water, a granulated activated carbon (or “GAC”) filter is a must for any system. As a homeowner, you would have the option of going with a simple GAC cartridge filter, or a more thorough and larger household GAC unit. Typically, we install a 5 micron activated carbon filter right before our UV sterilizer.
- Sediment filtration: Any remaining sedimentation in the water should be filtered out as thoroughly as possible. Sediment size is measured in microns -- the higher the micron reading, the larger the particulate. In Ohio, all rainwater systems that are used for drinking water must be filtered down to at least 5 microns (which is small enough to filter out cysts from the water). When we are putting in drinking water systems from rainwater tanks, we generally install a two-stage sediment filtration system, starting with a 20 micron filter, followed by a 5 micron activated carbon filter. When installing sediment filters, always put the higher micron element first, followed by the lowest.
- UV Sterilization: The final step in any rainwater filtration system needs to be disinfection (killing bacteria) or sterilization (sterilizing bacteria so that it cannot reproduce, thereby rendering it harmless). Even after filtering the water down to 5 microns, bacteria can still be present in the water. While many rainwater systems use chlorine to disinfect the water, our preferred method for bacteria filtration is ultra-violet sterilization. We strive for the best possible water quality, and adding chlorine to the water, in our experience, does not lend itself to this end. UV sterilizers, by contrast, offer a very safe and extremely effective result. However, UV lamp sleeves need regular (usually every 3 months) cleaning to ensure that the UV light penetrates the water fully. Cleaning is not difficult and, with all of the above filtration steps in place, can be a very quick process (under 5 minutes). Alternatively, self-cleaning UV sterilizers are available, such as our UV Pure units which utilize a motorized wiper that periodically wipes down any film on the internal glass sleeve to keep UV penetration of the water supply as full as possible. For more information on UV sterilizers, please see our article on UV Sterilization Systems.
