How to Seal an Underground Water Cistern
A Step-by-Step Guide to Sealing an Underground Water Cistern
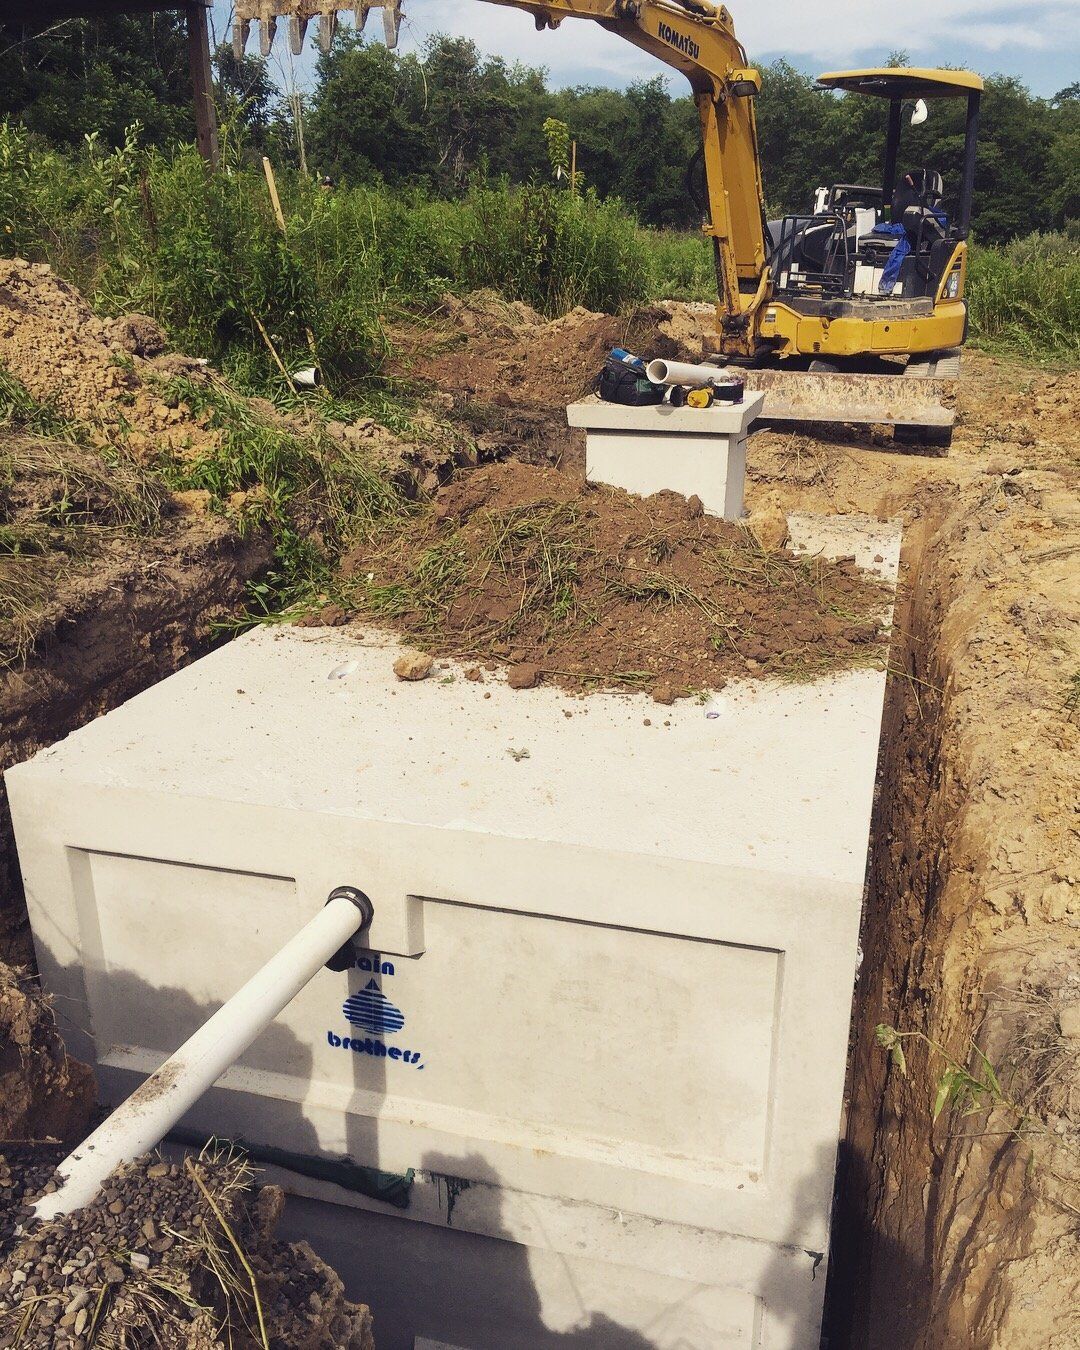
Have you discovered a leak in your cistern? We have developed a video (above) and written tutorial for sealing up a concrete or brick cistern providing a cost-effective alternative to installing a liner. This is a minimum 2-day process.
1)
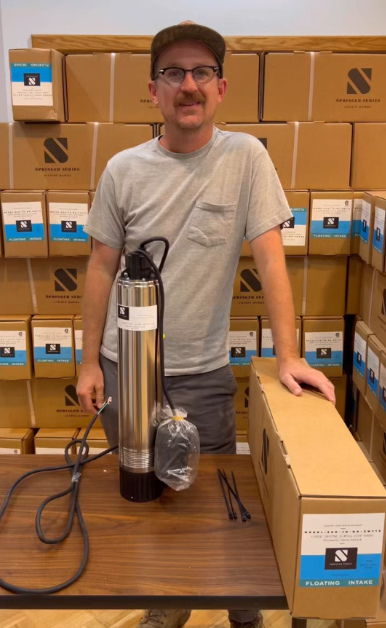
The first thing you want to do is clean out the cistern. You’ll need some large capacity pumps. For a larger cistern, say 24,000 gallons, we usually use a 3” gas powered trash pump. But for this work you can use a 2” submersible pump to pump out the water.
2)
Set aside rainwater supply. Pump a portion of the cistern water to fill a 50 gal drum or barrel to set aside some rainwater to be used as a water supply for the rest of the project. We will use this water supply to mix with the MasterSeal product and for the pressure washer. It is important to note that to avoid creating a toxic gas, we set aside this rainwater because we do not want to have any chlorine residue in contact with the cistern or used to mix with the waterproofing cement. The waterproofing cement has an additive that contains ammonia and mixing ammonia with chlorine produces a toxic gas.
3)
Finish pumping out the tank.
4)
Lightly pressure wash cistern walls. Using rainwater from the 50 gallon drum feeding to your pressure washer, lightly pressure wash the walls of your cistern.
5)
Remove bottom sludge. Use a wet vac to suck up all the sludge and then shovel out any remaining muck in the system.
6) Mixing the
MasterSeal 581.
MasterSeal 581 is an NSF certified product for potable water systems, so it is safe for drinking water after it cures. Mix the waterproofing cement with the chlorine free rainwater from our 50 gallon drum or barrel. We want to mix about 3 parts water to one part
MasterEmaco A 660. This is our binding agent for the MasterSeal 581 that makes sure it will adhere well to the cistern wall. Once the binding agent is prepared, add white MasterSeal 581 until it’s a paint like consistency using a slow speed drill and mixing paddle. Full detailed instructions are provided on the manufacturer’s website.
7)
Apply first coat of
MasterSeal 581. Day one we do a very light coat of the MasterSeal 581. We prefer to use a white MasterSeal 581; a white powder which applies white. Apply it using a deck brush. Apply the first coat on the wall very thin, just like paint. Make broad brush strokes using circular motions to get it into the concrete. Once you do that you will have a very good surface for the next coat to bind to.
8)
Apply second coat of
MasterSeal 581. Day 2, after the first coat has cured, come back and add a gray MasterSeal 581 to make it contrast to the white so you know that you are getting full coverage. The gray coat should be a little thicker than paint. Spot check to make sure you have full coverage. Wait 24 hours. Make sure to shop vac once you’re done to make sure all remaining water is gone.
It’s very important to not only have a respirator on while you’re in the cistern but also to have a fresh air intake fan to have a constant supply of fresh air into the cistern.
Our service area is approximately 120 miles surrounding Yellow Springs, Ohio. If you need help Sealing an Underground Cistern, please call or text us at (937) 949-1100, or fill out our request form.
